
Phone Setup – Mugshots Grill & Bar
 Step 1: Unbox Cordless Base and Handset 1
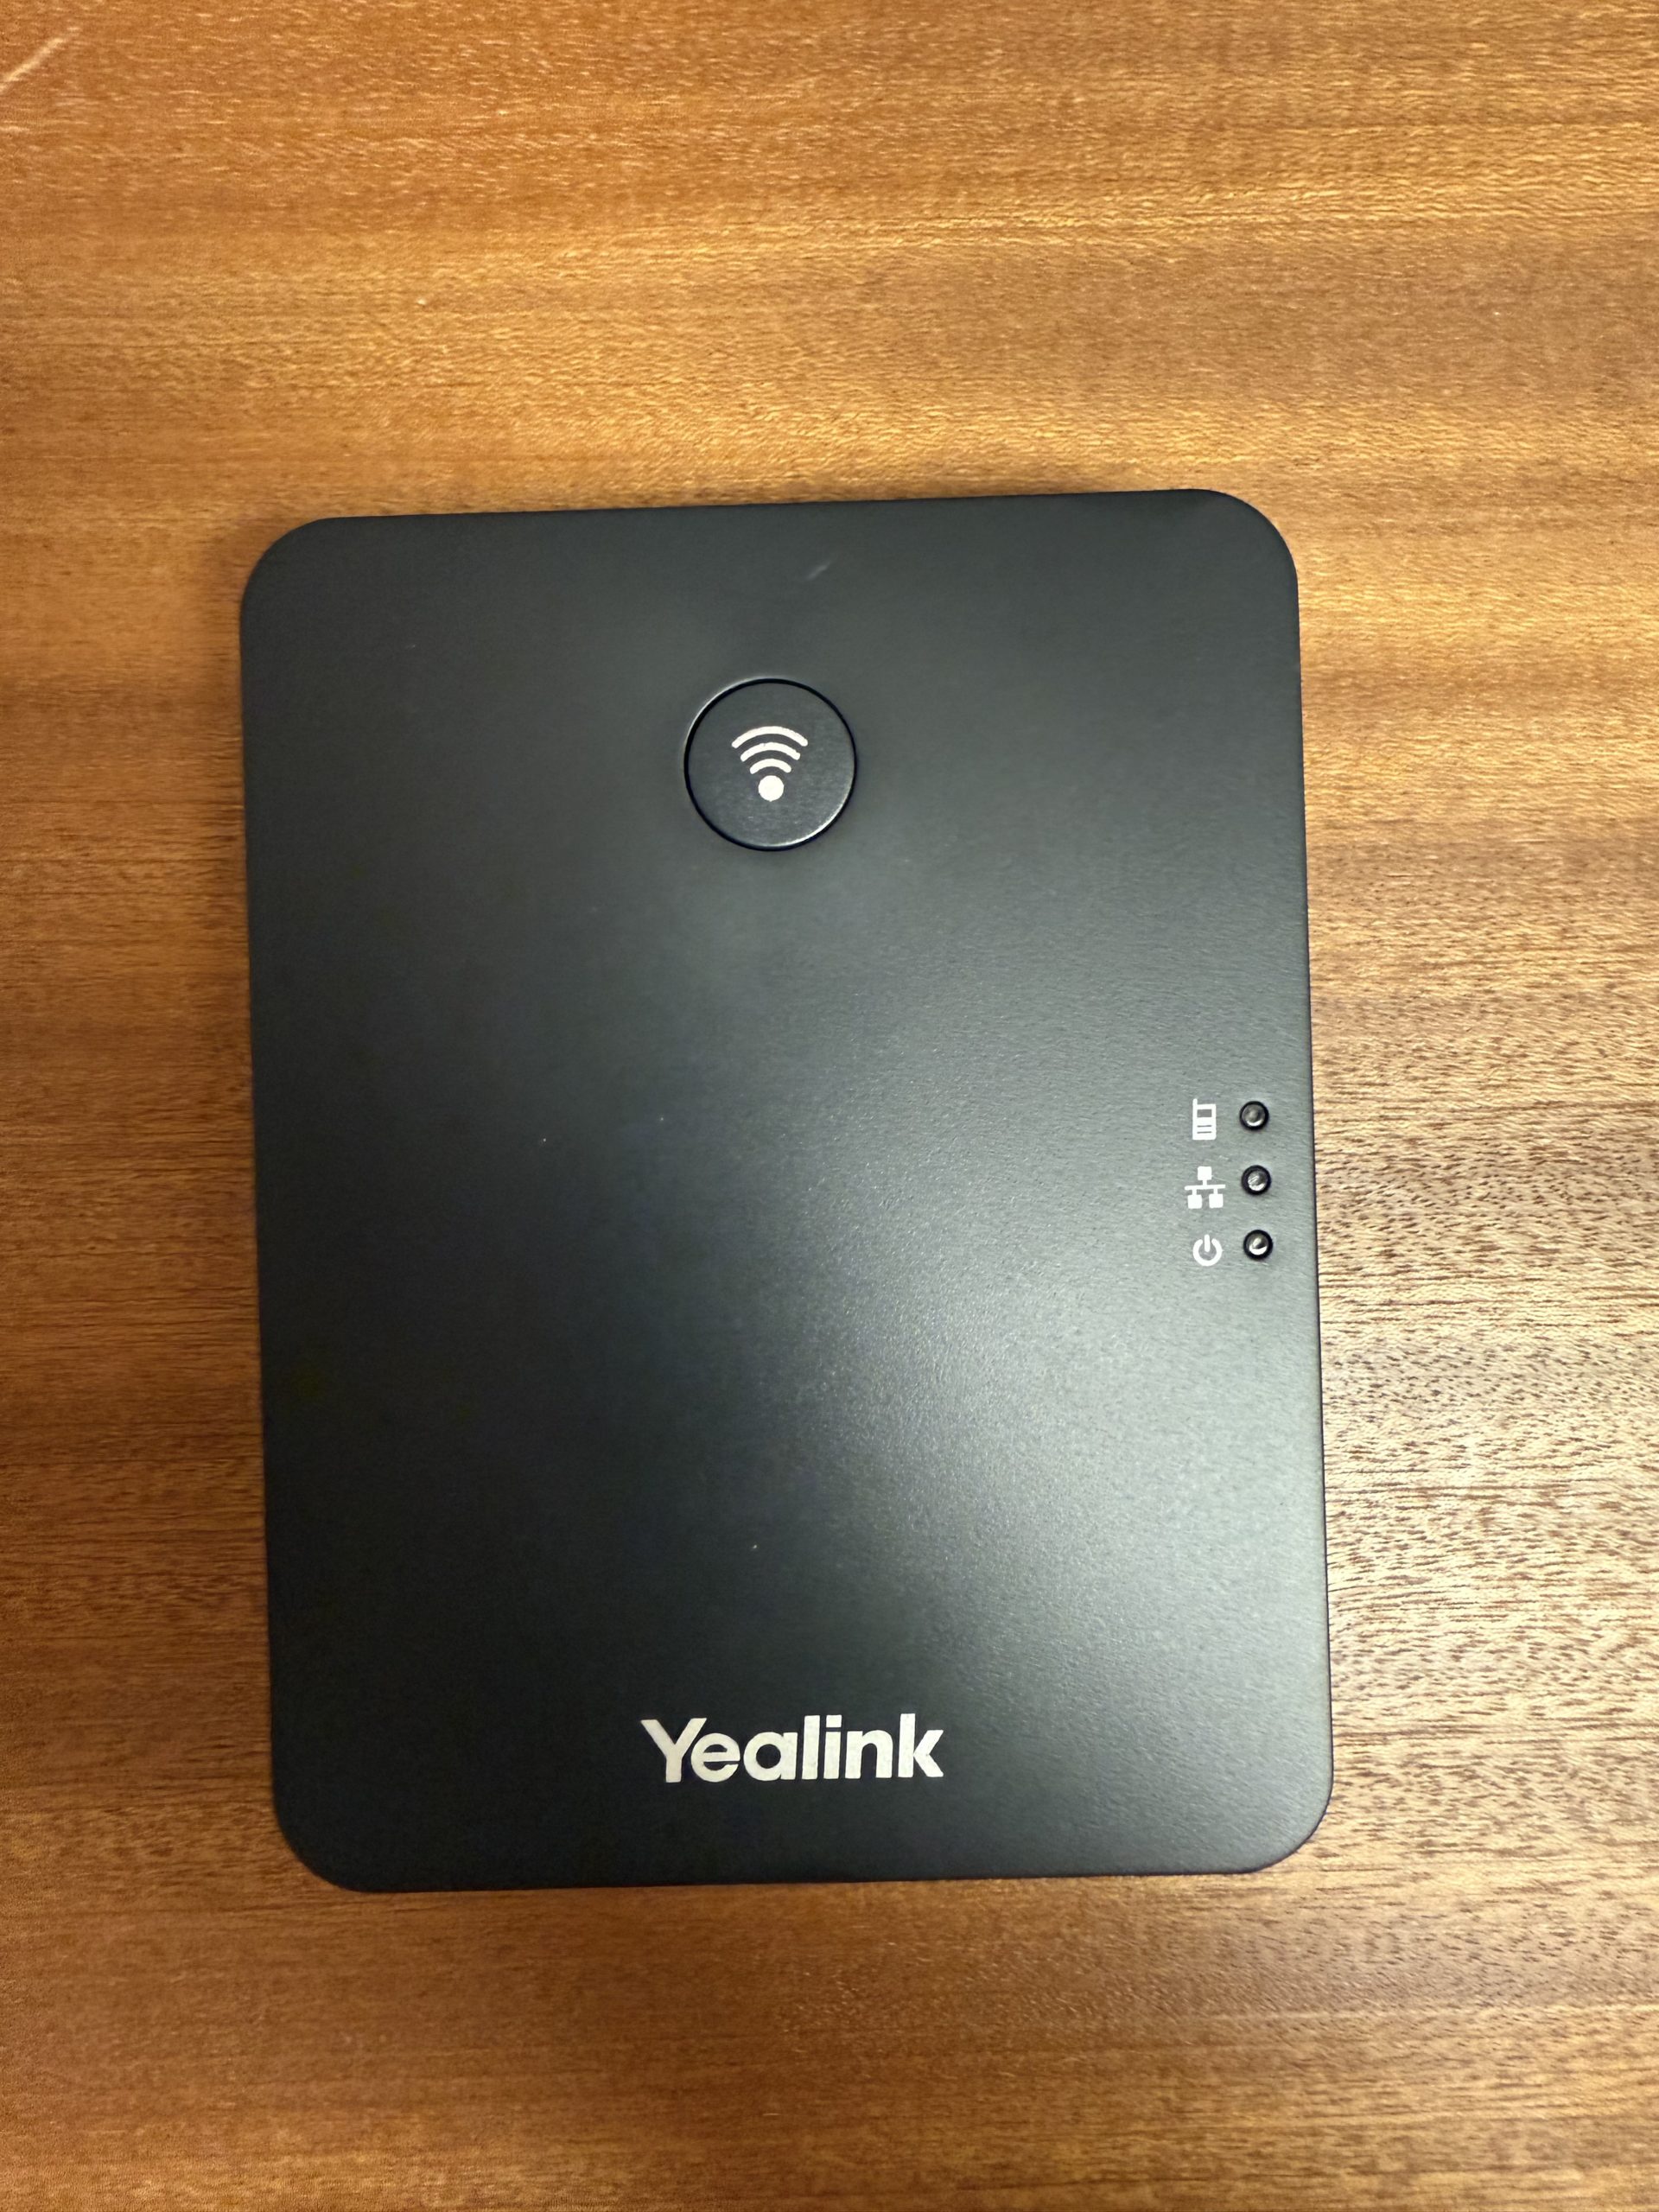
Open the DECT IP Phone W73P box labeled "Cordless Base, Handset 1" to find the W70B base station and the first cordless handset.
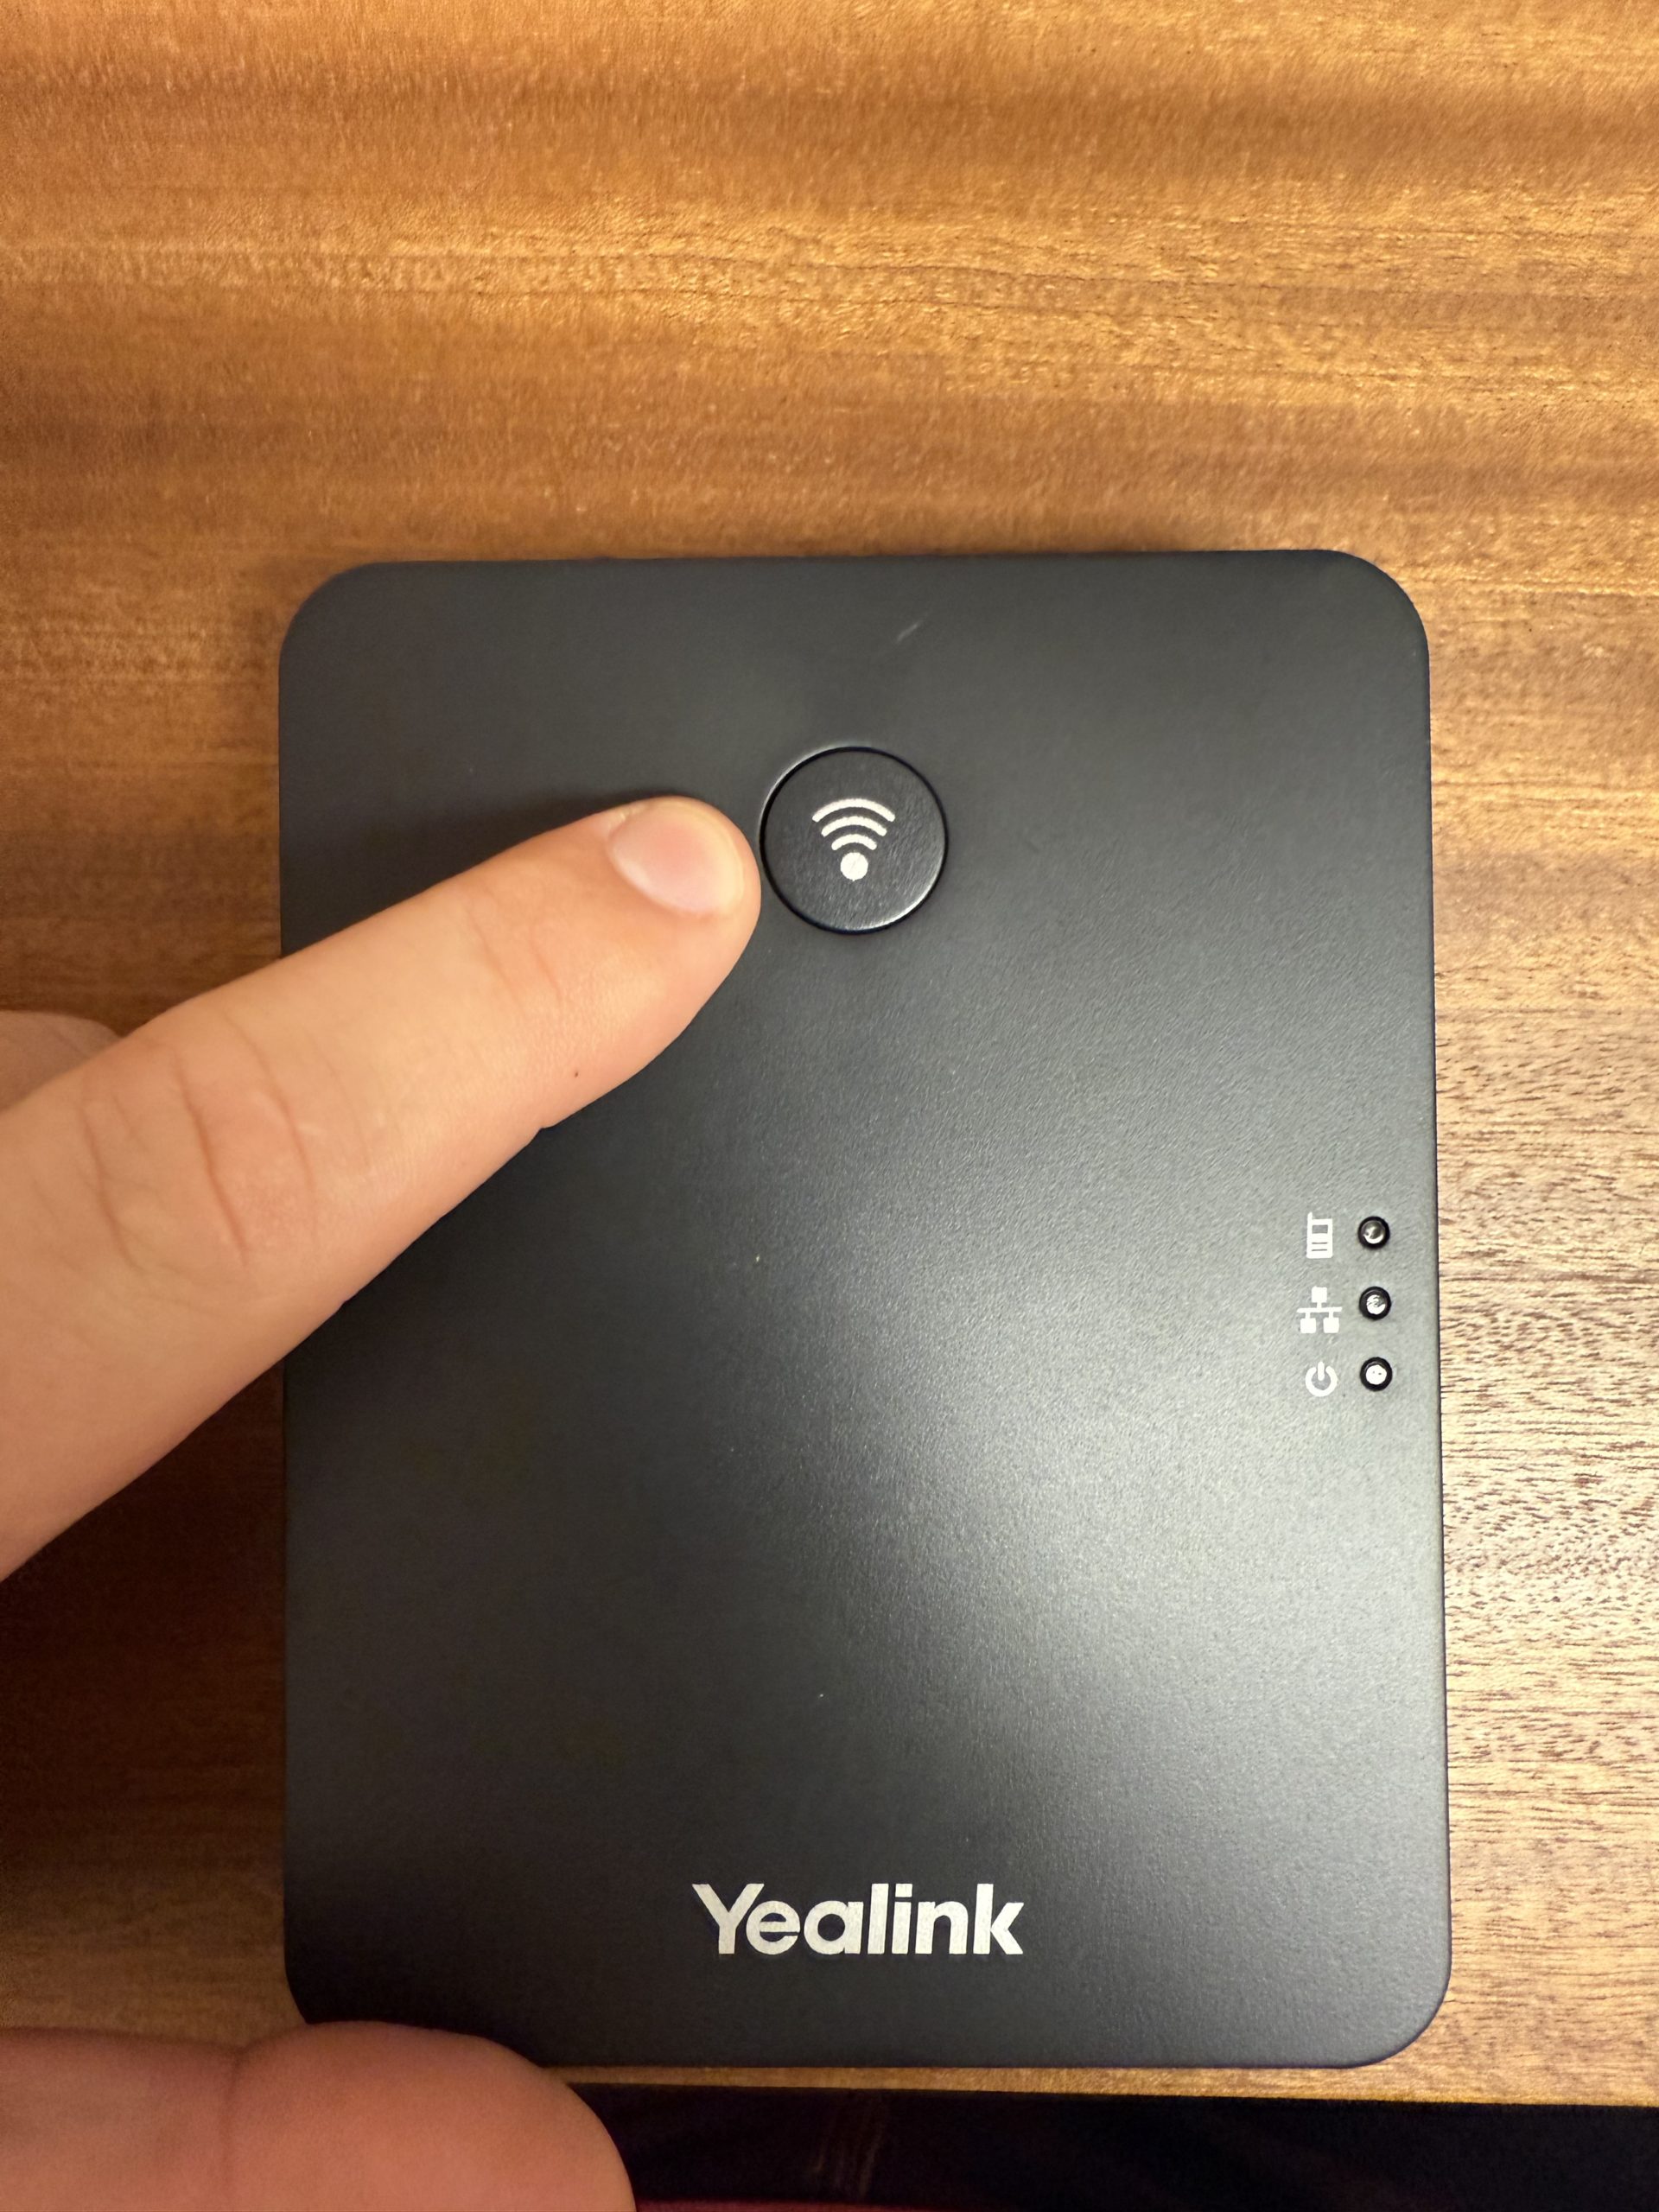
 Step 2: Connect the Base Station
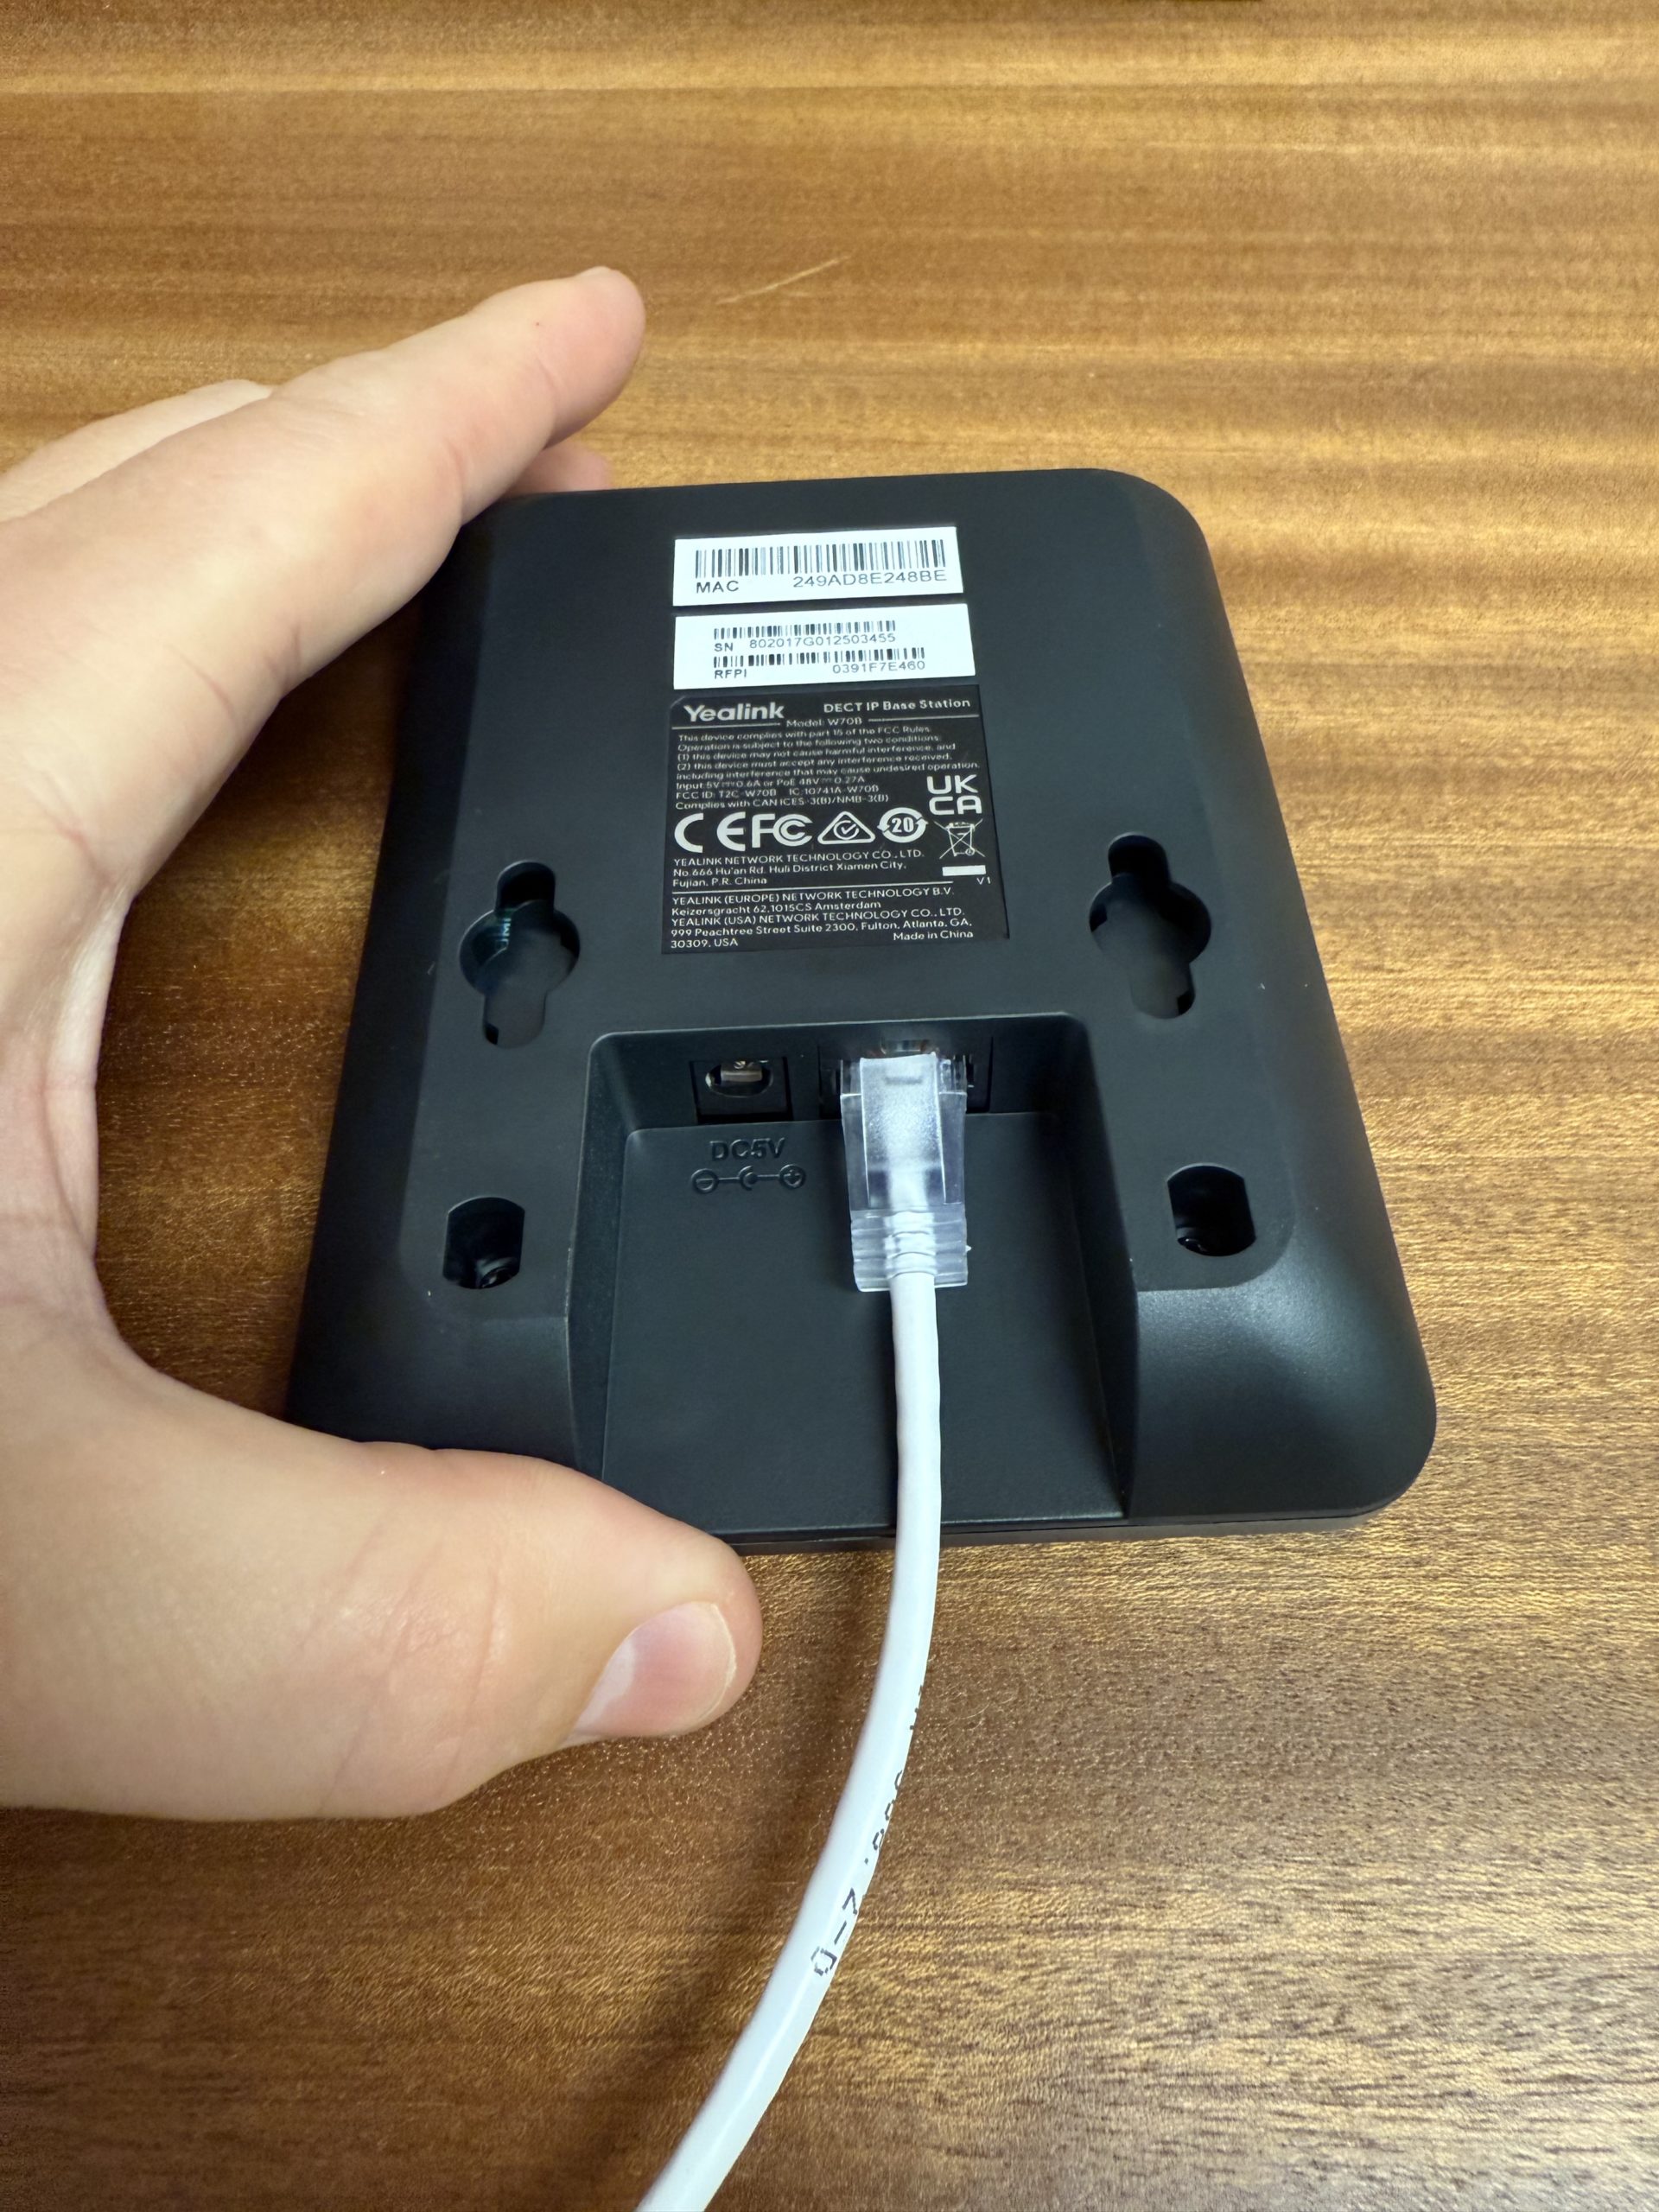
Plug the W70B base station into a power outlet and connect it to a live network port using the provided cables.
 Step 3: Check Base Station Lights

Wait for the base station lights to stabilize. The bottom two lights should be green. Note: Lights may briefly turn off during a software update.
 Step 4: Power On Handset 1
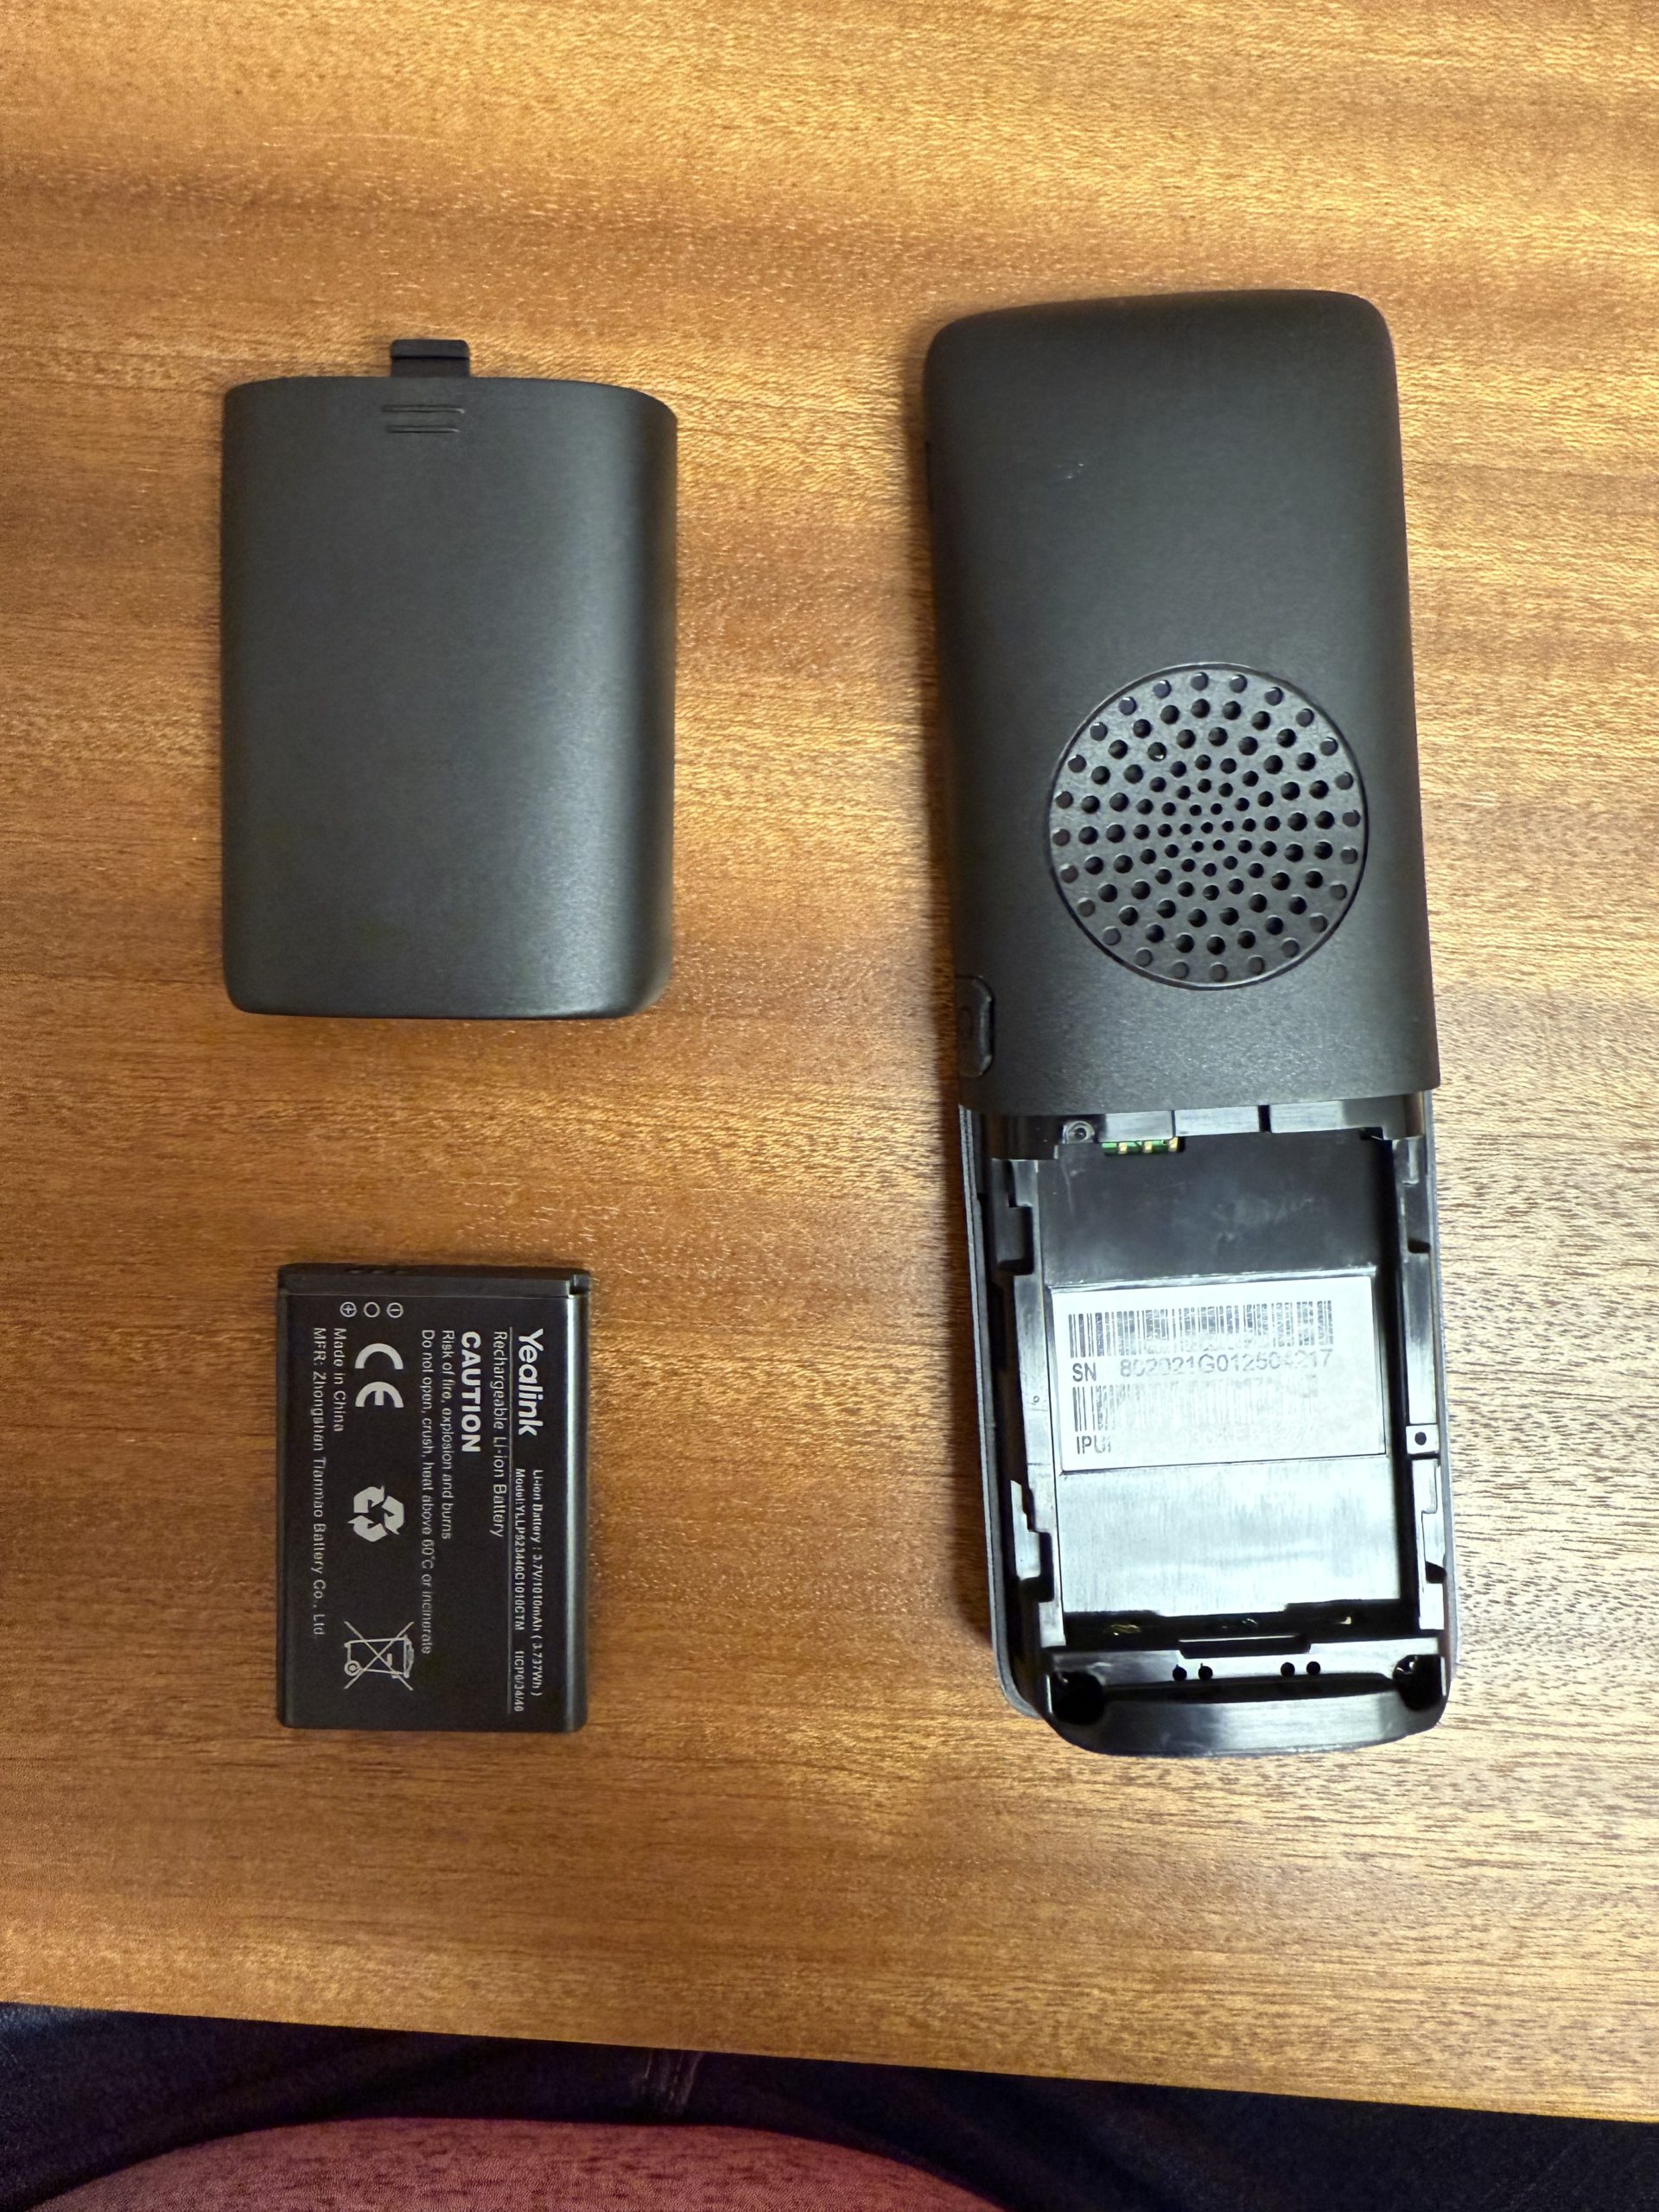
Open the back of Handset 1 (included with the base) and install the battery. Power it on.
 Step 5: Confirm Handset 1 Pairing
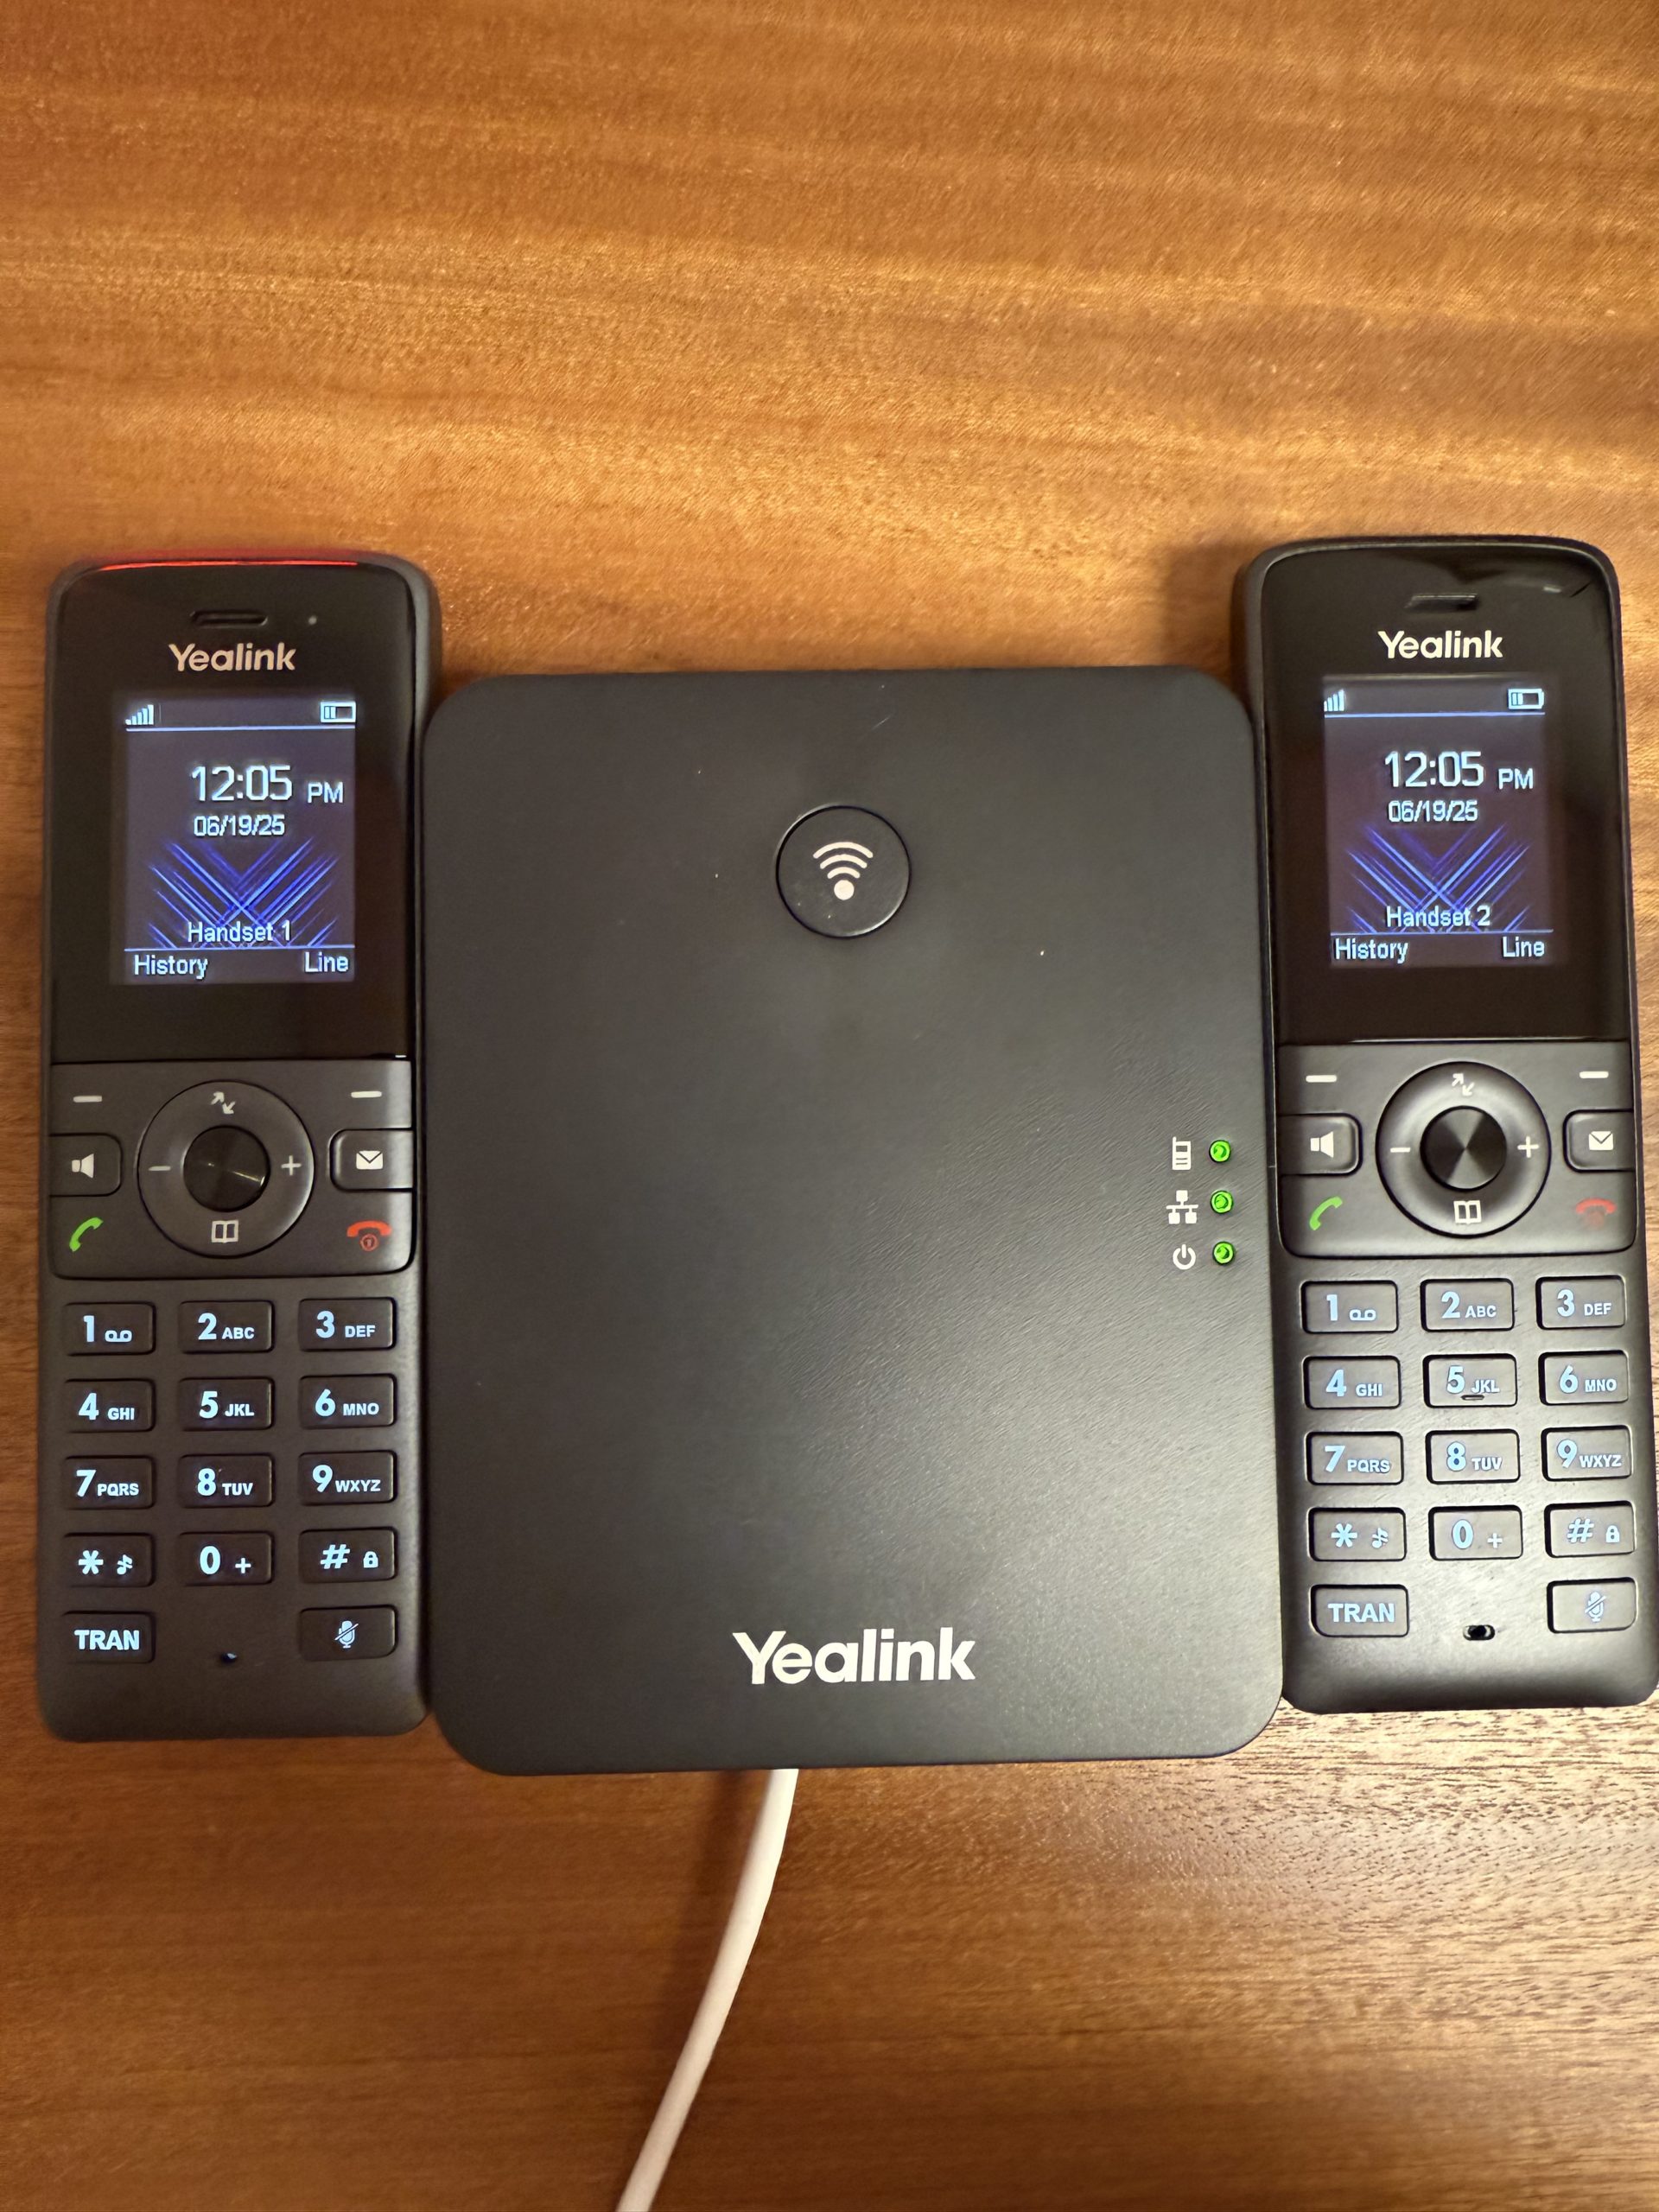
Handset 1 should automatically pair with the base station and display signal bars.
Step 6: Unbox Handset 2
Open the DECT IP Phone W73H box labeled "Handset 2" to find the second cordless handset.
Step 7: Power On Handset 2

Open the back of Handset 2, install the battery, and power it on.
 Step 8: Initiate Pairing on Base Station
Press the wireless connect button on the front of the base station for 2-3 seconds until the handset light flashes.
 Step 9: Register Handset 2

On Handset 2, press the registration button (or navigate to [Menu] > [Settings] > [Registration] > [Register Handset]) to connect to the base.
Step 10: Confirm Handset 2 Pairing
Handset 2 should now be paired and display signal bars, ready for use.
 Step 11: Set Up Charging Docks
Plug in the charging docks for both handsets in convenient locations and place the handsets on them.
Step 12: Unbox OFFICE Desk Phone

Open the FANVIL Model V62G box labeled "OFFICE" to find the desk phone.
Step 13: Connect OFFICE Desk Phone
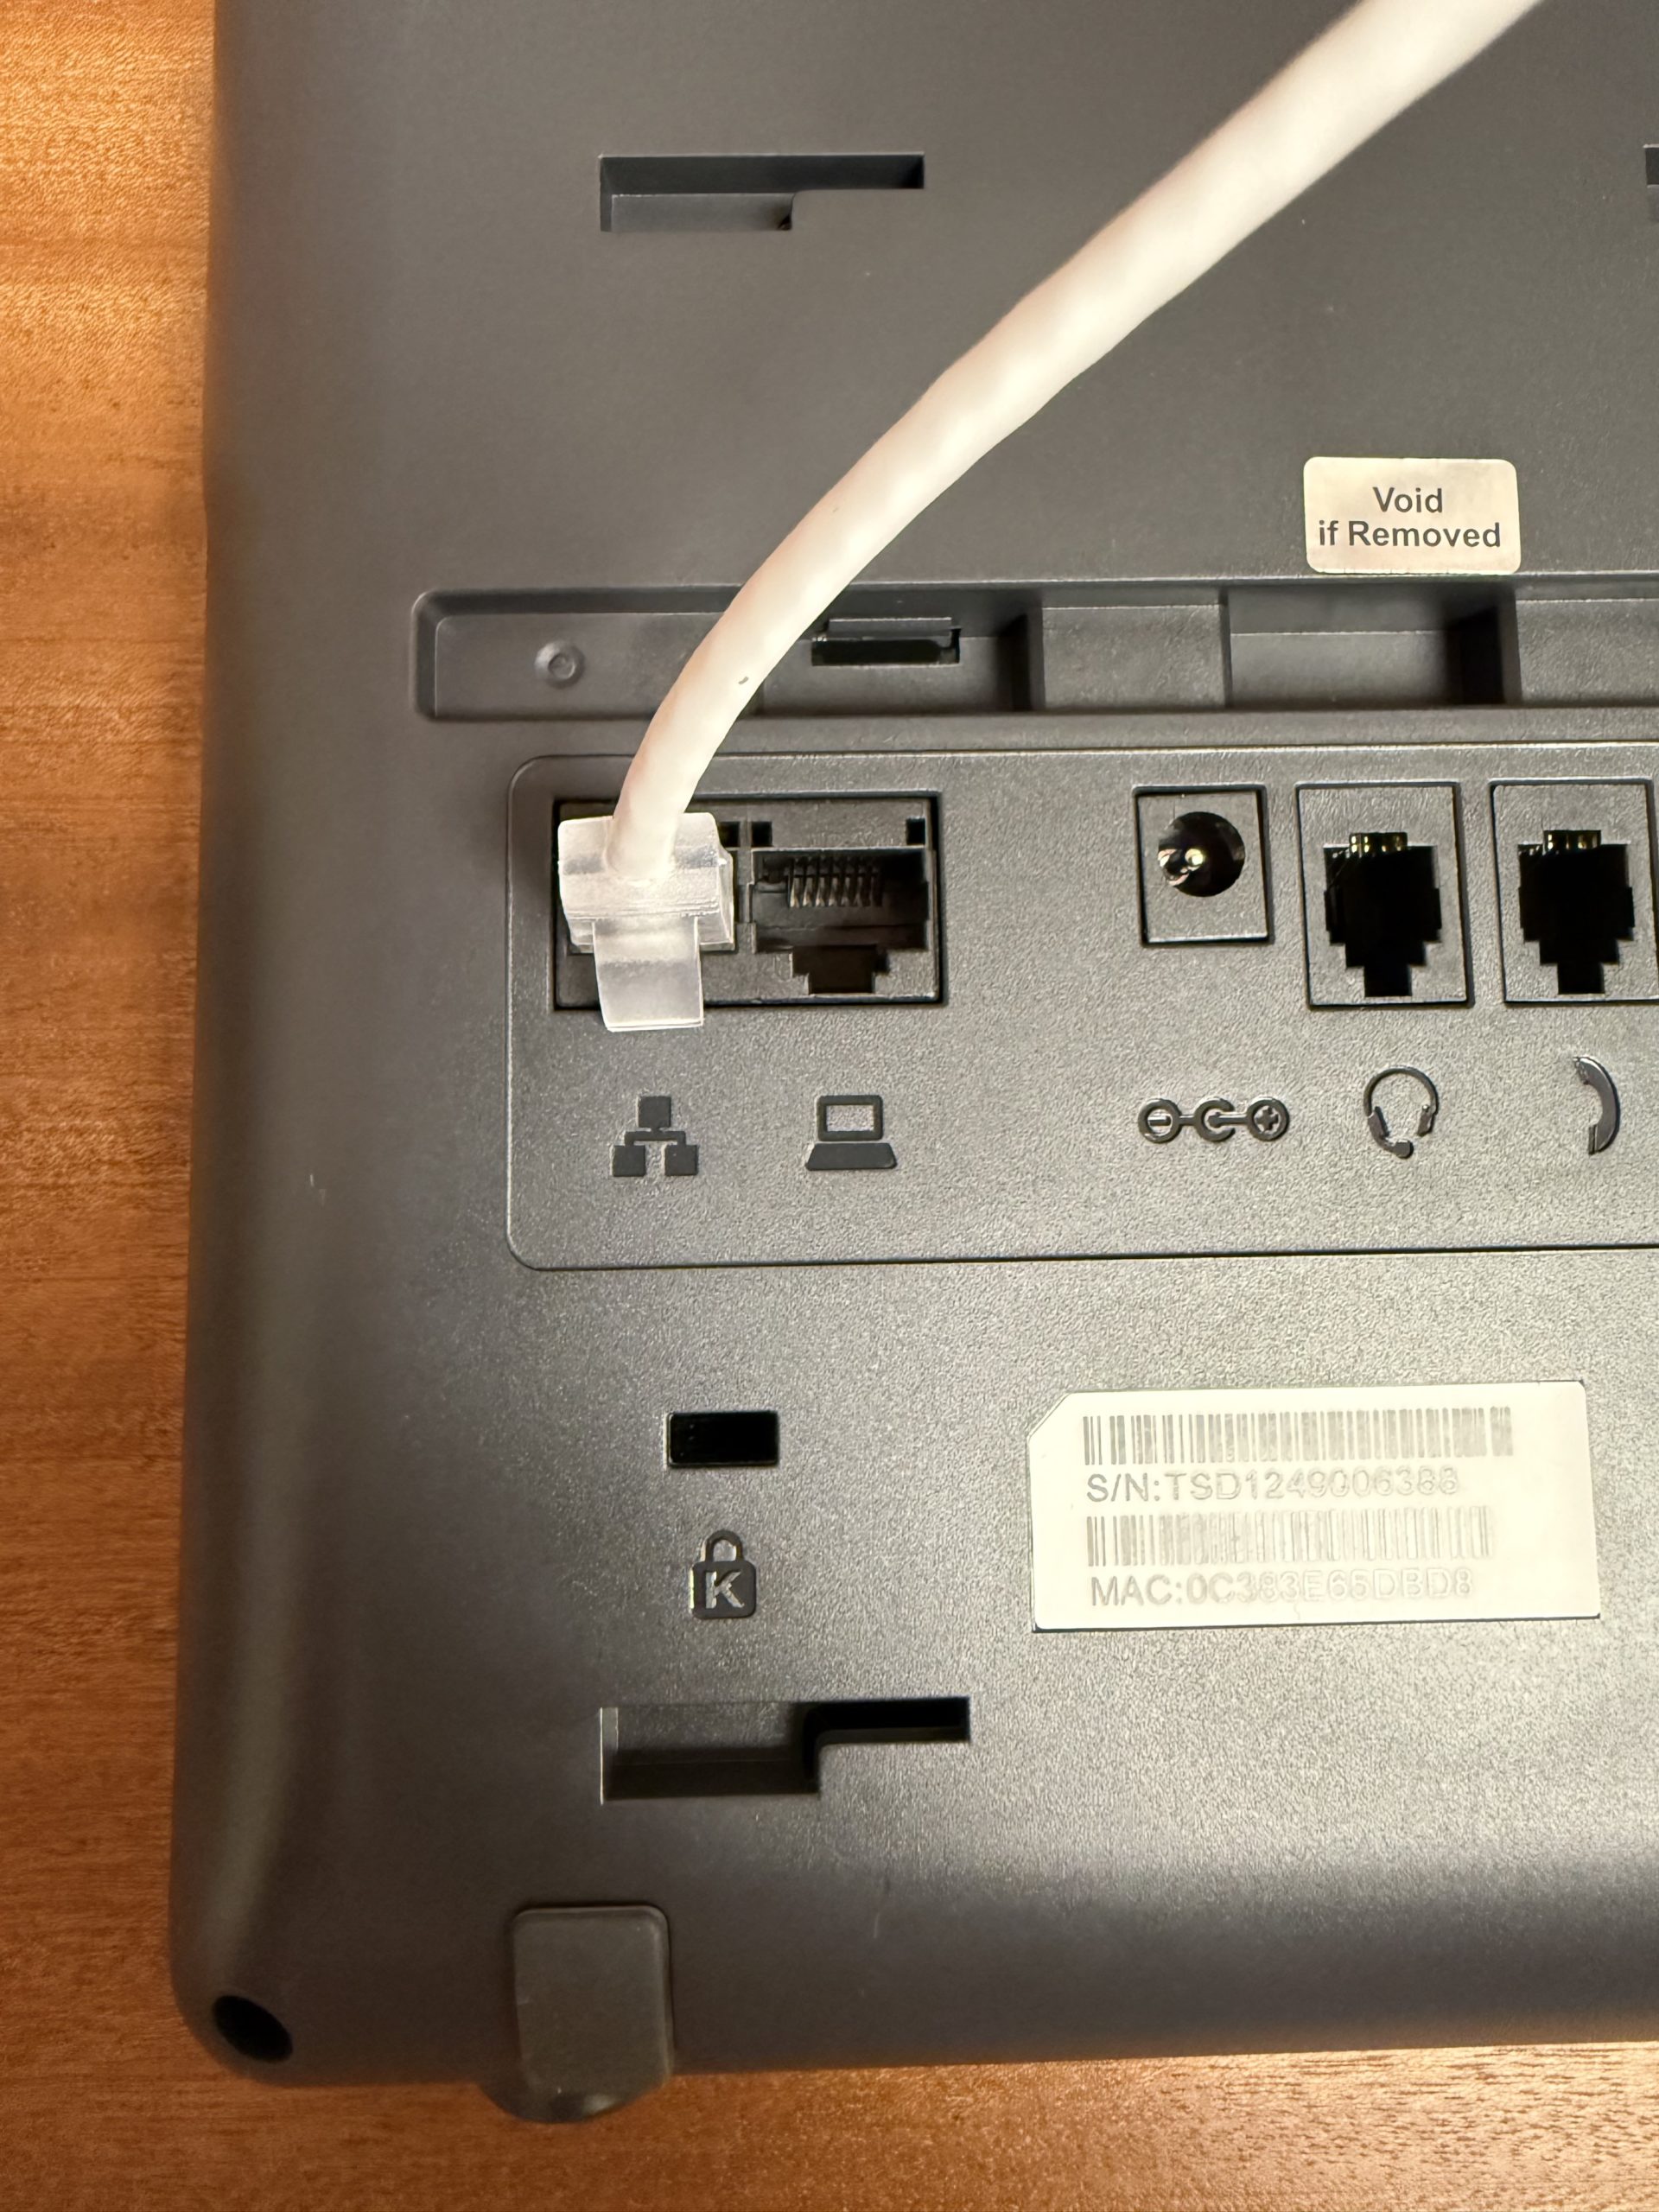
Attach the network cable, power cable, and handset cable to the back of the OFFICE phone.
Step 14: Confirm OFFICE Phone Setup
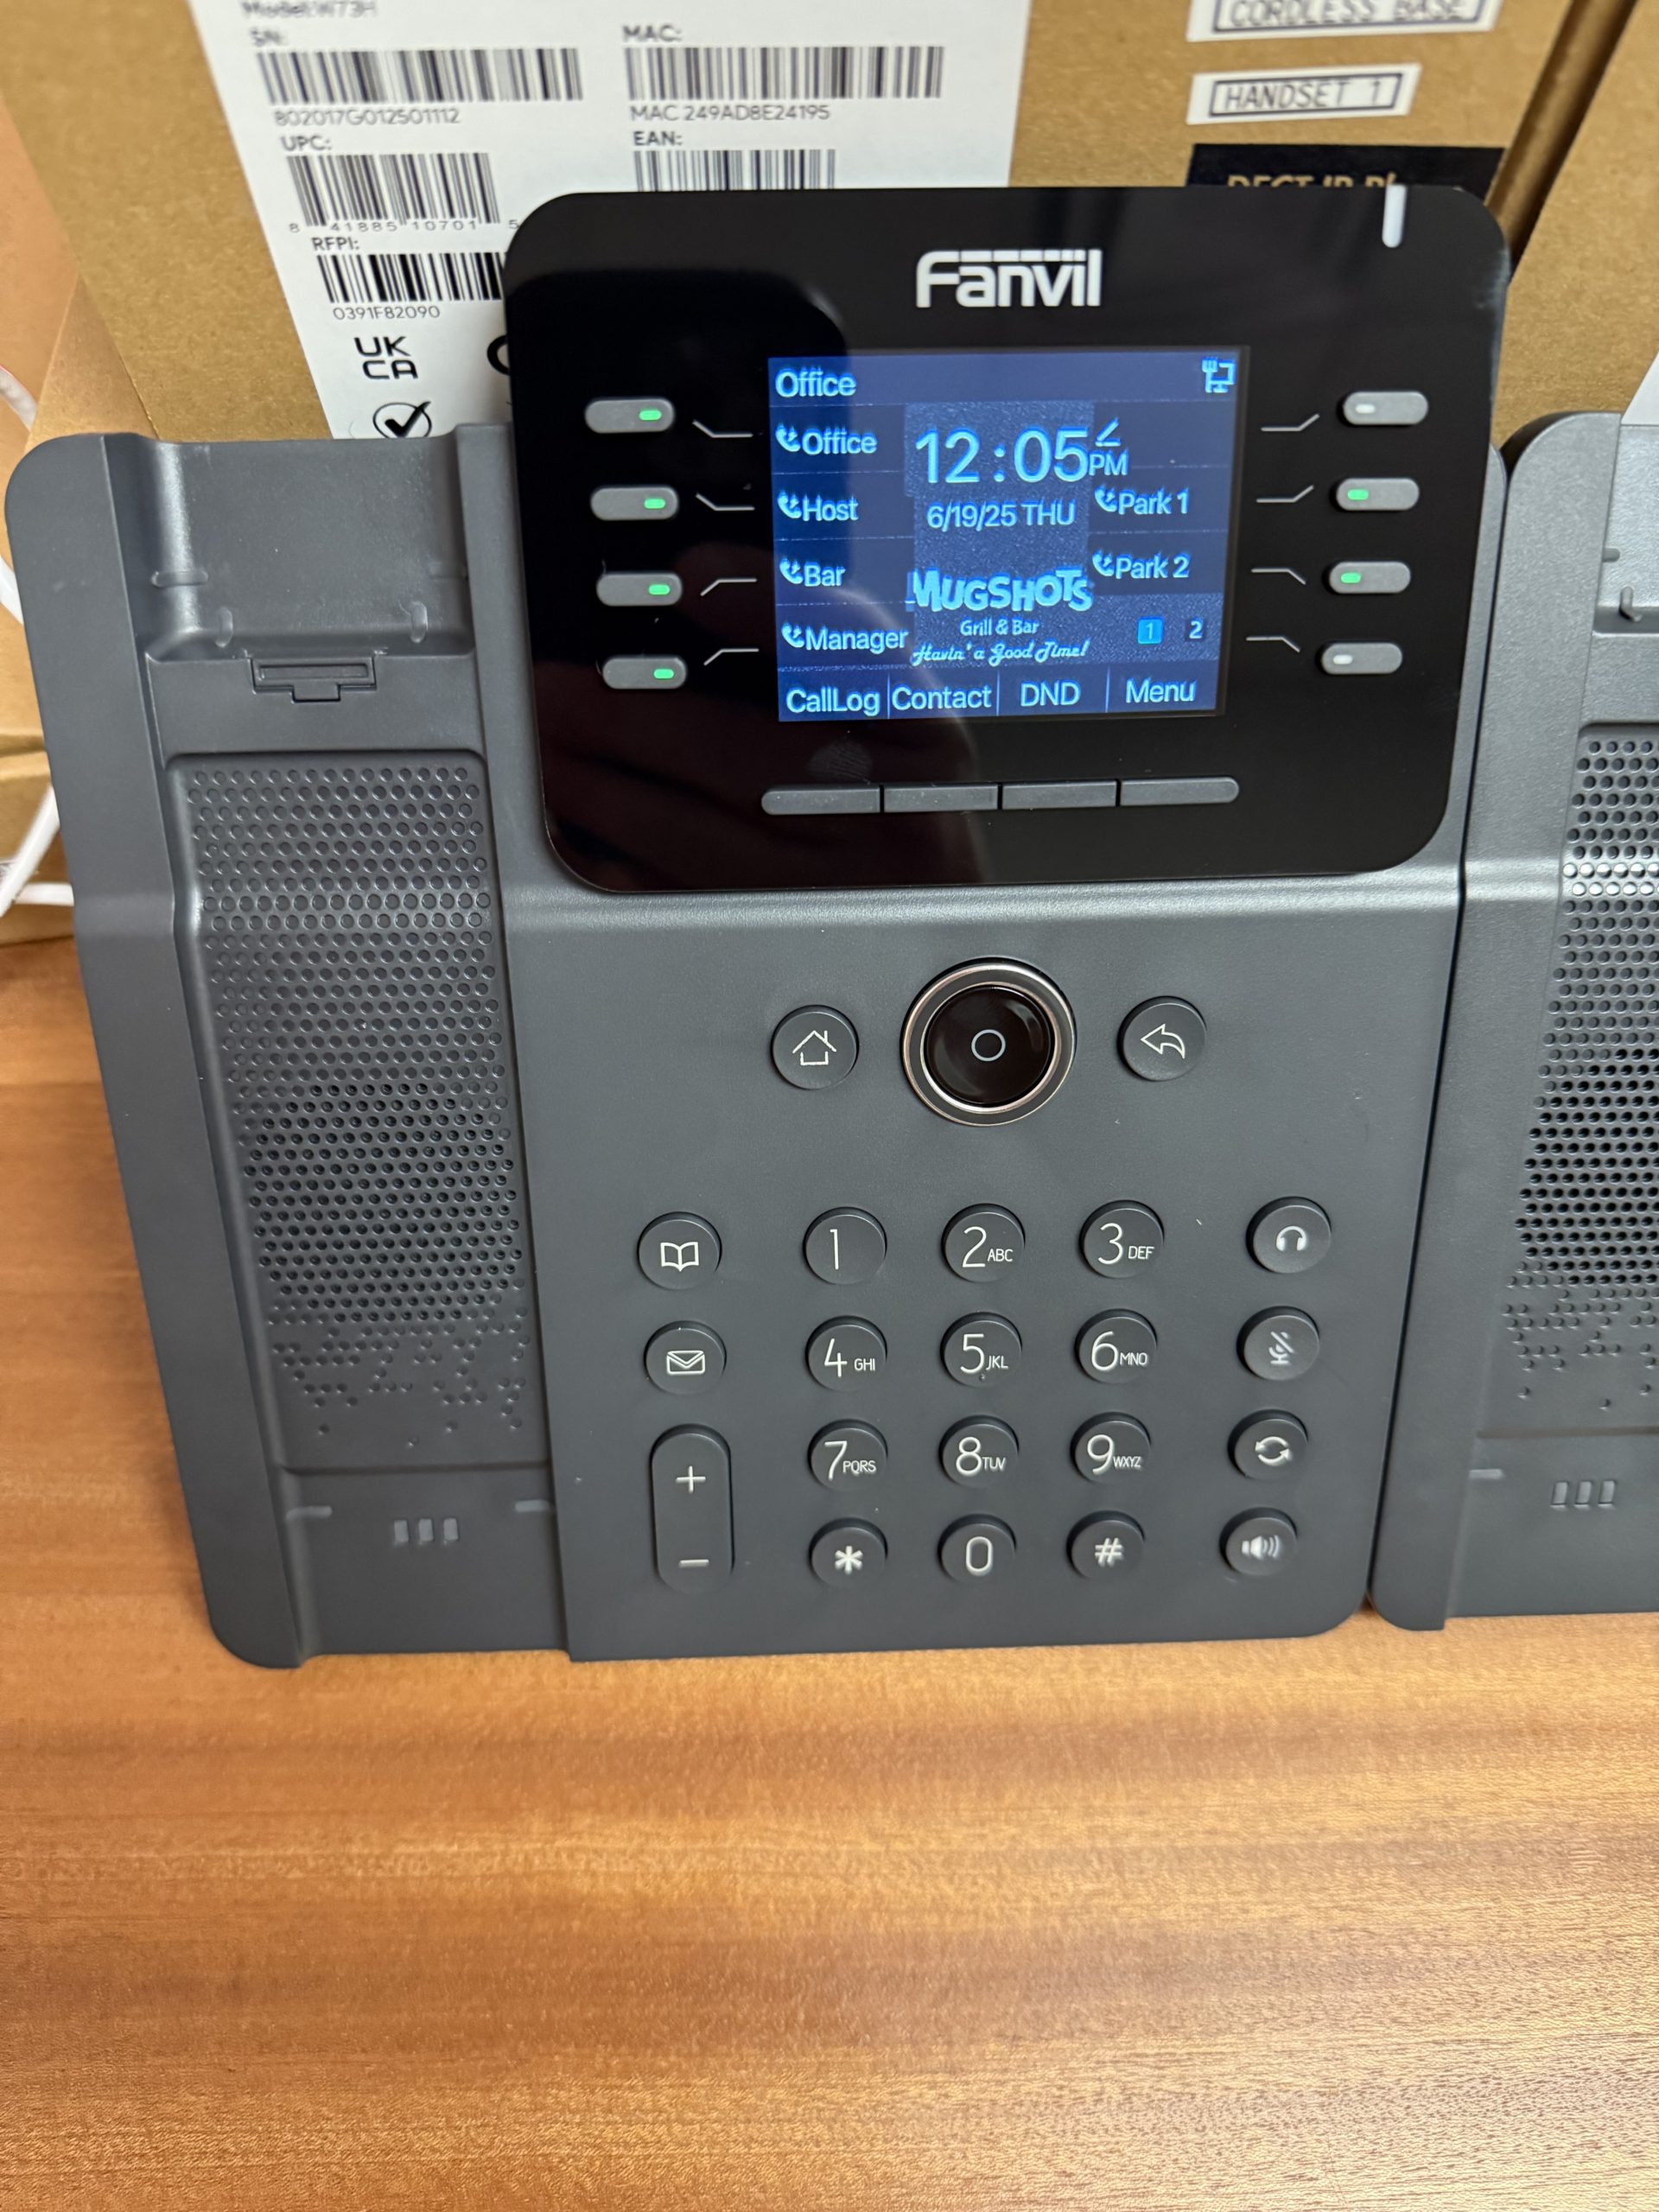
The OFFICE phone should power up, display "Office" in the top left, reboot once, and show an active screen.
Step 15: Unbox HOST Desk Phone
Open the FANVIL Model V62G box labeled "HOST" to find the desk phone.
Step 16: Connect HOST Desk Phone
Attach the network cable, power cable, and handset cable to the back of the HOST phone.
 Step 17: Confirm HOST Phone Setup
The HOST phone should power up, display an active screen, reboot once, and be ready for use.
Need help? Contact EasyVoIP Support — we're here for you.